Portlight Recoring (Part 2)
The next step in the portlight saga was to find the recoring material. Guess who didn't measure ahead of time to see if the thickness was readily available? Apparently they don't make plywood (marine or otherwise) in the same thicknesses that they did 40 years ago! The ply that was used for the core was 5/16" or 7.5 millimeters. Noah's (the marine lumber supplier) stocks 9mm and 6mm. Home Hardware's website says that they have high quality fir in 5/16", but it only exists in virtual reality (unless we felt like special ordering 30 4x8 sheets)
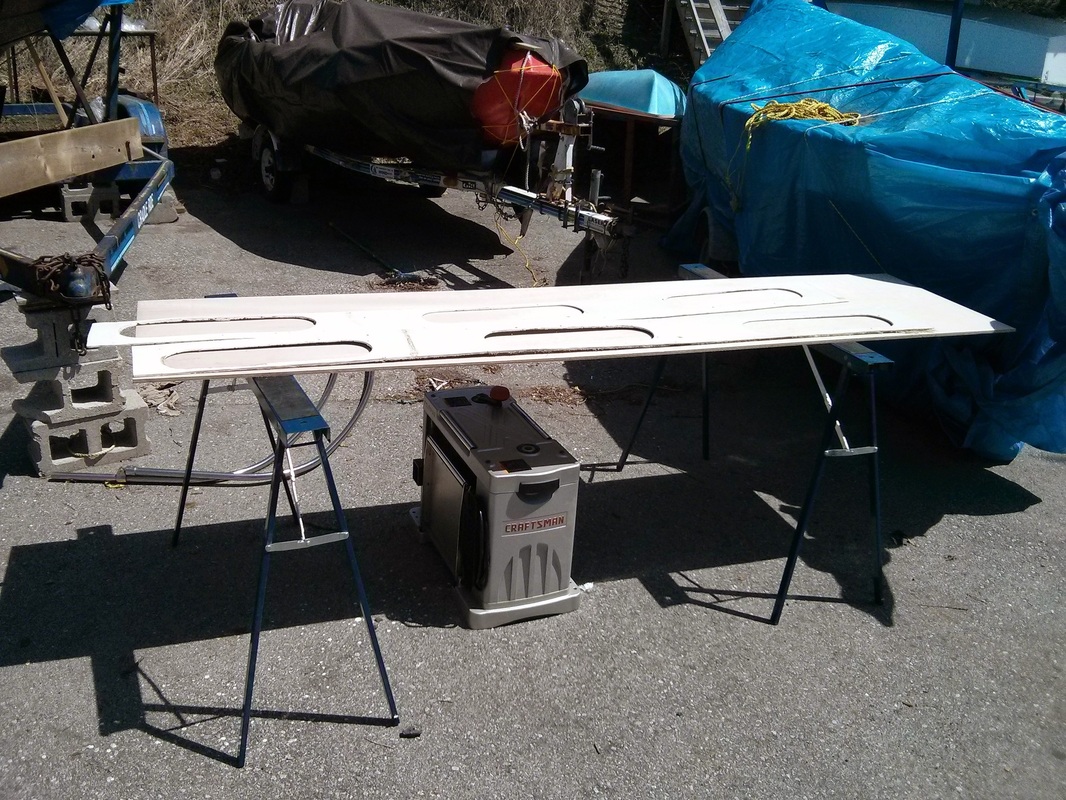
Fortunately the Tool Library came through again and had a 13" wide planer available (shown under the sawhorses in the photo). Jeff's Dad ran a piece of plywood through his planer at home the night before to see the results, and provided a positive report. A half-sheet of 9mm Meranti was purchased from Noah's.
The planer did an excellent job of shaving off the necessary material without creating a lot of splinters. I took of 1/32" on each side, and then had to take another 1/64" off to get the 9mm down to the necessary thickness.
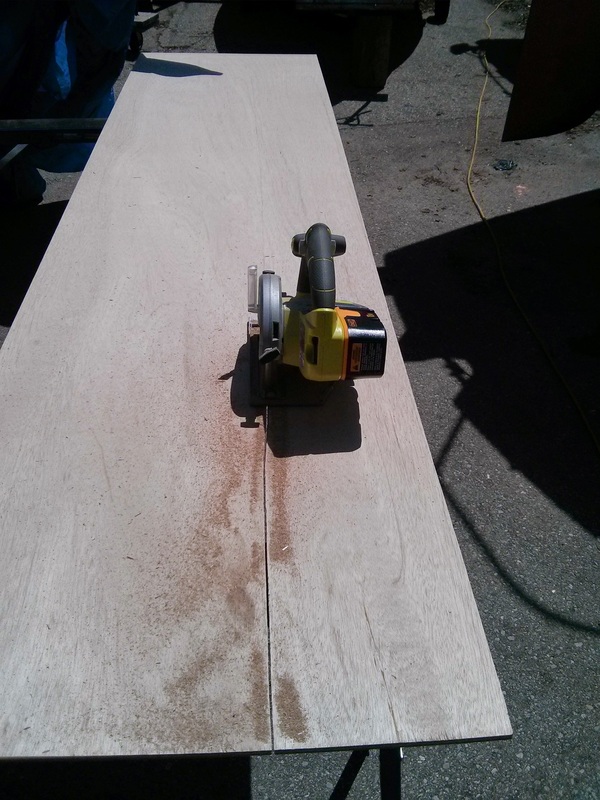
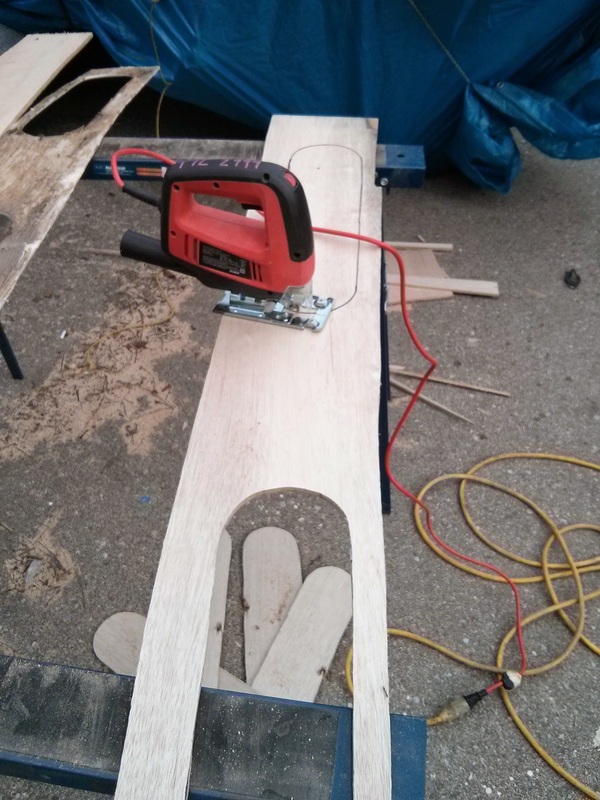
I used the fiberglass skins as a rough template to cut out the new core before running it through the planer. Thanks again to the Tool Library, I had a very nice cordless circular saw for the job. It did splinter the Mertanti pretty badly, but was much faster than the jigsaw for such a long cut. As the pictures may show, it was a beautiful day for this job.
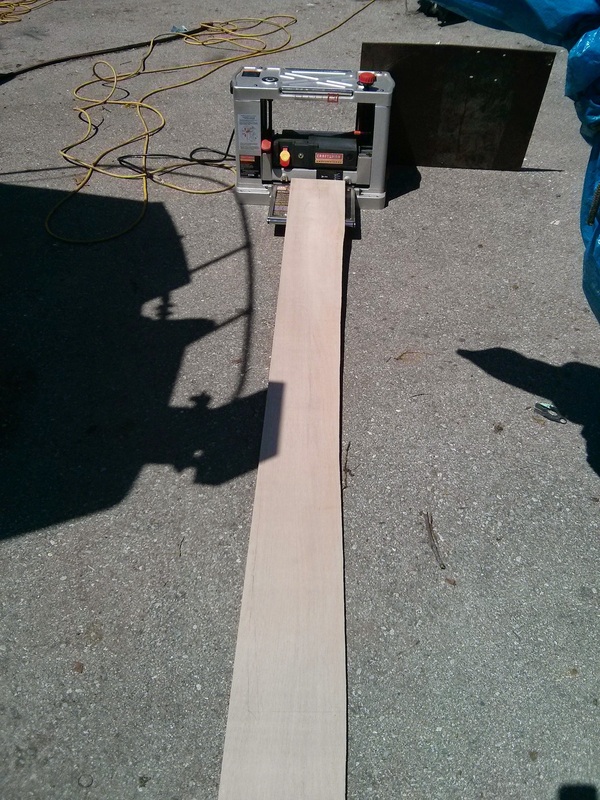
I was lucky enough to have the room at the club to run an eight foot long through the planer with no obstructions.
Running the first strip through the planner proved to be a breeze. The blades were sharp and it drew the eight foot length through with no problem. As the picture shows, I positioned a piece of sheet metal behind the sawdust exit to make clean up easier. Without the dust collection kit, it easily spit out sawdust twelve feet. I had a wet/dry vac on hand to clean up the mess that it did make.
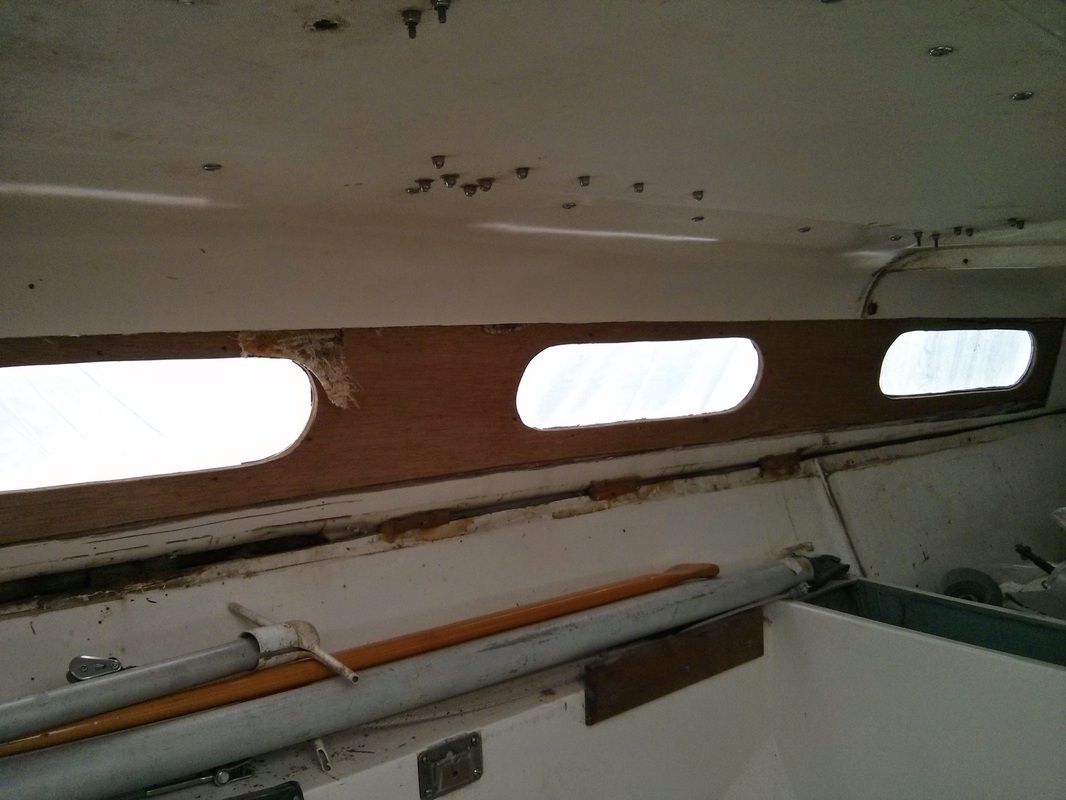
Dry-fitting the core material felt like a major step.
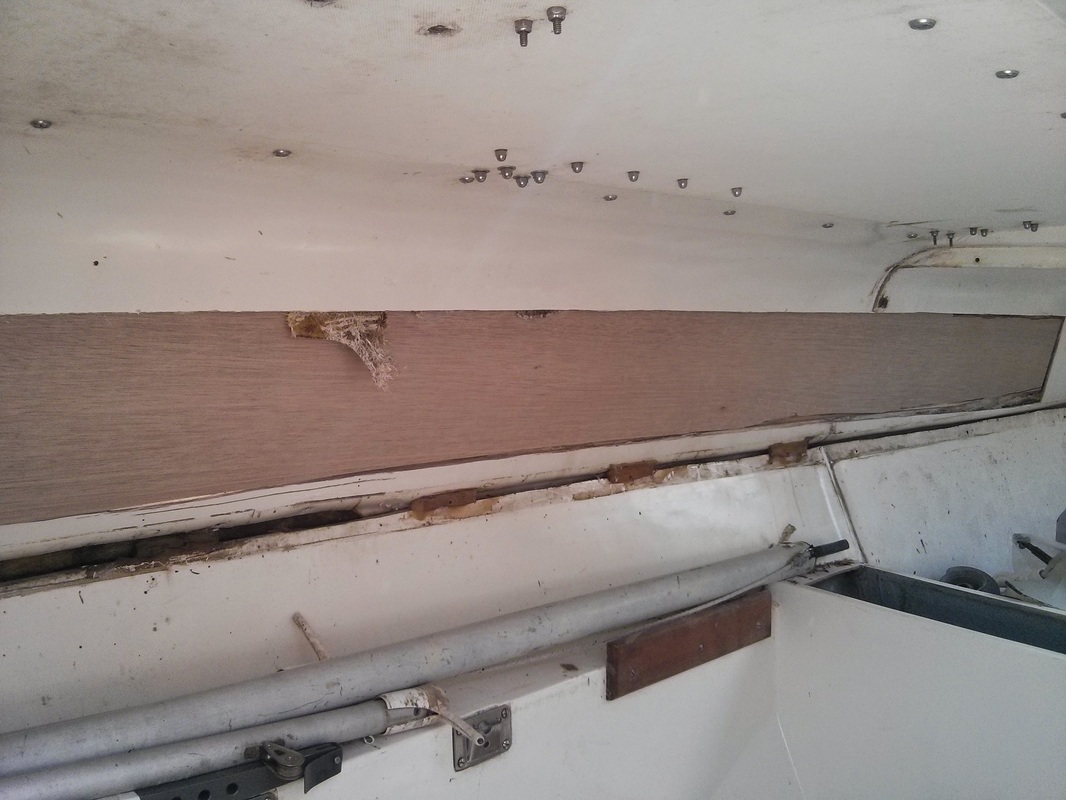
The picture shows a bit of fiberglass material coming down in between the two fiberglass skins. It is really hard to describe what is going on here, but basically this piece ripped out of the back of the interior skin (I didn't cut deep enough with the tool in this area. However, it seems to be a different section of glass that runs athwart, so I left it to epoxy it back in place in case it serves a serious purpose. However, as I've said before, the space between the two skins above the portlights is suspiciously void. It isn't as if there was core material that now is missing, it has clearly been void since production. I purposefully cut the new core material oversize so that I could fit it further up into this void (which would serve to better tie the whole thing together with epoxy).
The picture also shows what looks to be a wacky cutting job on the bottom side of the core. This is due to the factory coring not being a straight shot. The areas that intruding into the core material are actually resin-filled glass that was underneath the original coring material. I had to cut the ply back in these areas to be sure it fit. It is hard to see in the picture, but moving towards the bow (to the right in the photo) the fiberglass area is resin "starved." Before putting the interior skin back on, I filled this area with thickened epoxy.
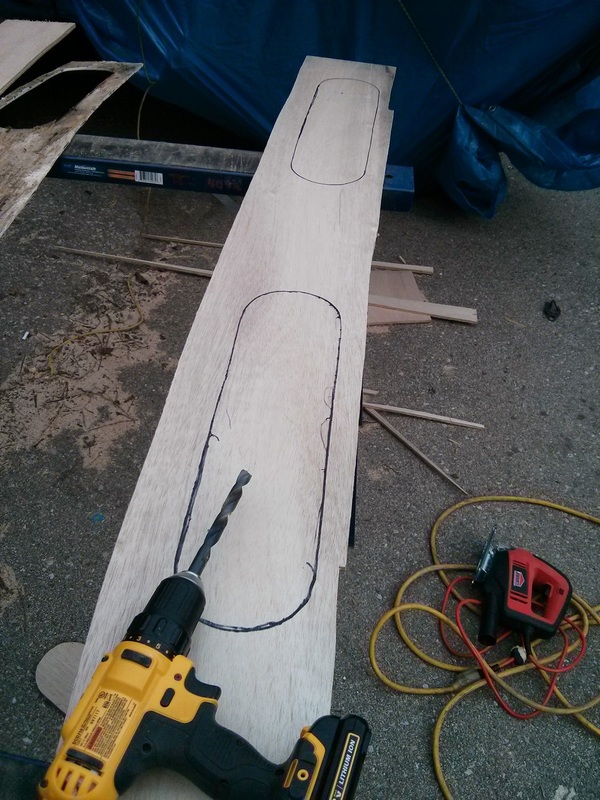
The new pieces fit in pretty snugly, so I could go outside with the ladder and trace the portlight holes with a sharpie marker. I then removed the core and drilled a 1/2" hole near one edge to get the jigsaw started . I've evangelized for them before, but the Bosch T101AO jigsaw blades are an absolute necessity for Meranti plywood. Look at how well the took the corners without any splintering! I couldn't believe how quickly I was able to go, but this is partly in contrast to the 12mm I am used to cutting through. I am using the tool library's jigsaw, but replaced the blade it came with (a sorry sight that must have come with the saw for mostly demonstrative purposes) with the Bosch blades. I accidentally left one of the blades in when I returned it, so the next person who checks it out is going to have a much more pleasant jigging experience.


I don't have any pictures of the process, but after the core was cut for the portlights, I "hot coated" it with unthickened epoxy. This will help seal the core, but it is mostly so that the epoxy used to "glue" the piece in place won't be absorbed by the bare plywood (leaving a weak bond).
I have been using System Three's general epoxy (mostly because their hardeners have no formaldehyde and thus almost no odor), and was using the "fast" hardener which can gel within 15 minutes and be tack free within 2 hours. I had planned on coating both sides before leaving the club, but 3 hours later it was still very tacky. I had forgotten to account for the temperature, which was around 45F. The times given on the hardeners are for ambient temperatures of 77F. So, I carefully placed the pieces back in the boat (it was set to rain) and ran down the next evening to coat the other side.
For the coating, I used a four inch wide disposable roller to spread the epoxy quickly. Noah's Marine had a batch come in that wasn't solvent resistant, so they gave a few of them to me for free. After rolling it on, I used a plastic squeegee to take the excess off.
The picture shows the piece after the epoxy has fully cured. What it doesn't show is the dozens of mayflies who were determined to meet their doom by landing in my freshly applied epoxy (not a way I would want to go). I sanded them off when I roughed up the core for epoxying it into place.
Note: I found a helpful estimation (I've forgotten where) that suggests one ounce of epoxy for every square foot. This calculation assumes one is coating both sides of a piece of wood, so it is actually one ounce for every two square feet of a flat surface.
 This fix is about to be very permanent in a mater of hours...
The next step was to epoxy the core. I've read up a lot on epoxying techniques, but I was a bit nervous as this was my first major project with the goo. However, I found it very friendly to work with and (as usual) probably didn't need to worry about it so much.
For the epoxy, I used System Three's General Purpose resin along with a combination of the slow and fast hardener—just enough slow hardener to be sure it didn't gel in 15 minutes. It was 55F outside, so it should have been slower than the label, but I was worried about it heating itself up in the cup. Again, I worried more than necessary, it took nearly an hour to begin to gel. Including the hardeners, I used 4.5 ounces of epoxy on each side (with a little left over each time, which I used to fill various holes in the deck). I mixed in a fair amount of colloidal silica until it was a bit thicker than mayonnaise to keep it in place and to add strength. I used a chip brush to spread the epoxy on the hull and then used a notched spreader (the smallest side) to even the epoxy's thickness/distribution. I repeated the process on the (previously hot coated) core material to ensure good adhesion and create a thick enough layer to be sure that any gaps were filled.
Finally, to be sure that the whole assembly was drawn tightly together, I had (during the dry-fitting) followed the preexisting screw holes from the windows and pre-drilled the plywood. Now that the pieces were coated with epoxy, I used the window screws to hold draw the plywood to the fiberglass skin. This resulted in some epoxy seepage around the portlight holes, which I cleaned up with a rag and acetone. I let the epoxy cure for a couple of days before removing the screws. I did use two large clamps to hold down the fore and aftmost sections of the plywood, as they were a little too far from the portlight area.
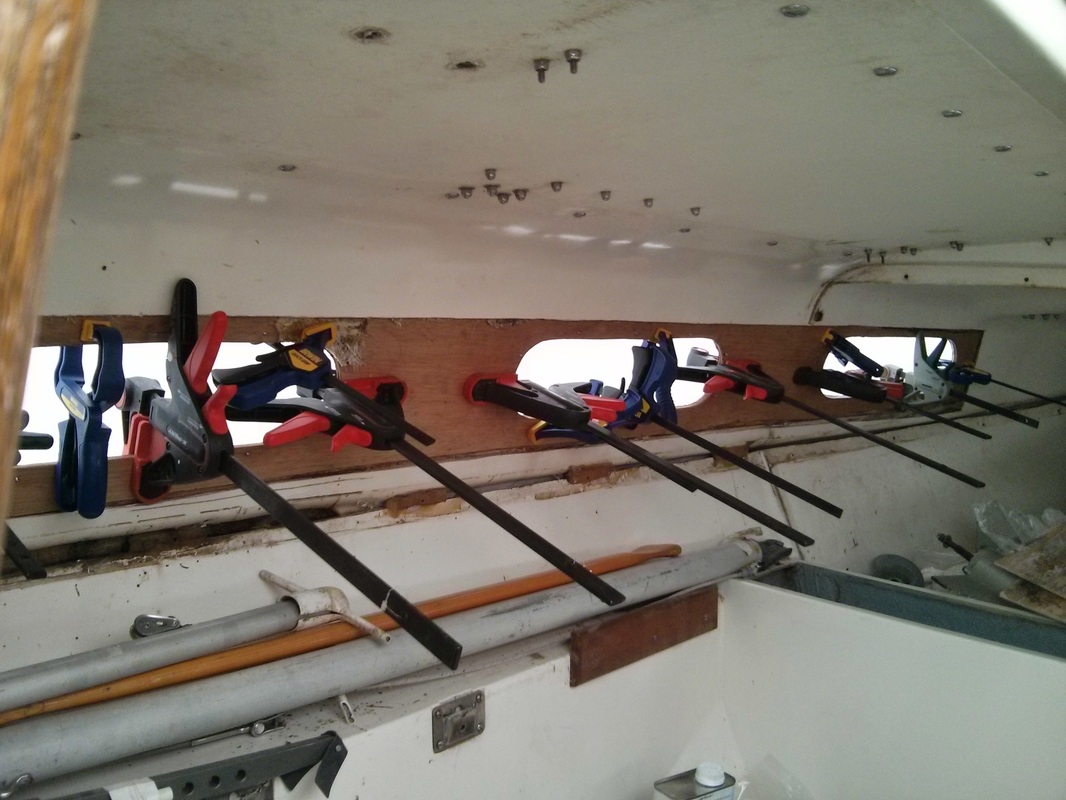
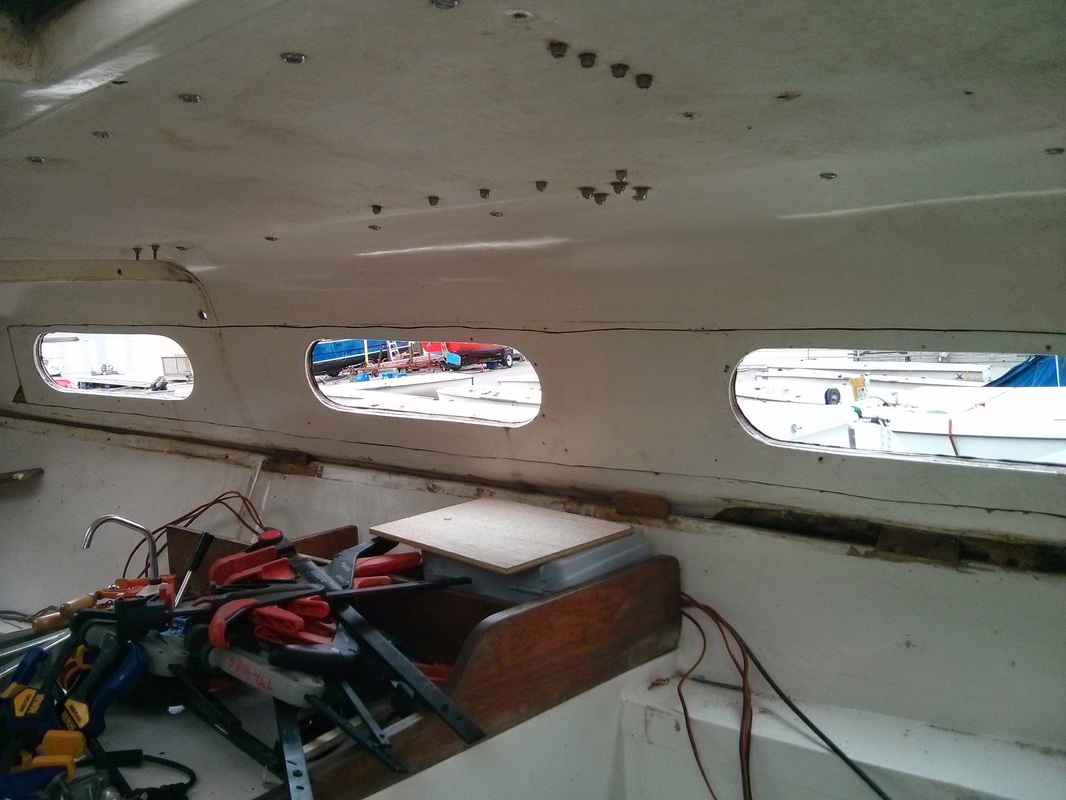
All that was left to do now was to epoxy the interior skin back on the core. I used the same process as described above, however, the screws would not hold it this time, so I had to use a number of clamps (with some extra plywood bracing to cover the areas too far from the portlight holes.
For the epoxy, I used System Three's General Purpose resin along with a combination of the slow and fast hardener—just enough slow hardener to be sure it didn't gel in 15 minutes. It was 55F outside, so it should have been slower than the label, but I was worried about it heating itself up in the cup. Again, I worried more than necessary, it took nearly an hour to begin to gel. Including the hardeners, I used 4.5 ounces of epoxy on each side (with a little left over each time, which I used to fill various holes in the deck). I mixed in a fair amount of colloidal silica until it was a bit thicker than mayonnaise to keep it in place and to add strength. I used a chip brush to spread the epoxy on the hull and then used a notched spreader (the smallest side) to even the epoxy's thickness/distribution. I repeated the process on the (previously hot coated) core material to ensure good adhesion and create a thick enough layer to be sure that any gaps were filled.
Finally, to be sure that the whole assembly was drawn tightly together, I had (during the dry-fitting) followed the preexisting screw holes from the windows and pre-drilled the plywood. Now that the pieces were coated with epoxy, I used the window screws to hold draw the plywood to the fiberglass skin. This resulted in some epoxy seepage around the portlight holes, which I cleaned up with a rag and acetone. I let the epoxy cure for a couple of days before removing the screws. I did use two large clamps to hold down the fore and aftmost sections of the plywood, as they were a little too far from the portlight area.
All that was left to do now was to epoxy the interior skin back on the core. I used the same process as described above, however, the screws would not hold it this time, so I had to use a number of clamps (with some extra plywood bracing to cover the areas too far from the portlight holes.

The structural portion of the repair is done, though we need to take care of the cosmetics. This will be covered in an upcoming post.
