This is the final post in this rather lengthy project. We left off with the core and inner fiberglass skin replaced, but with no finish work. The finish work was probably the worst part of the job, particularly since I hate sanding.
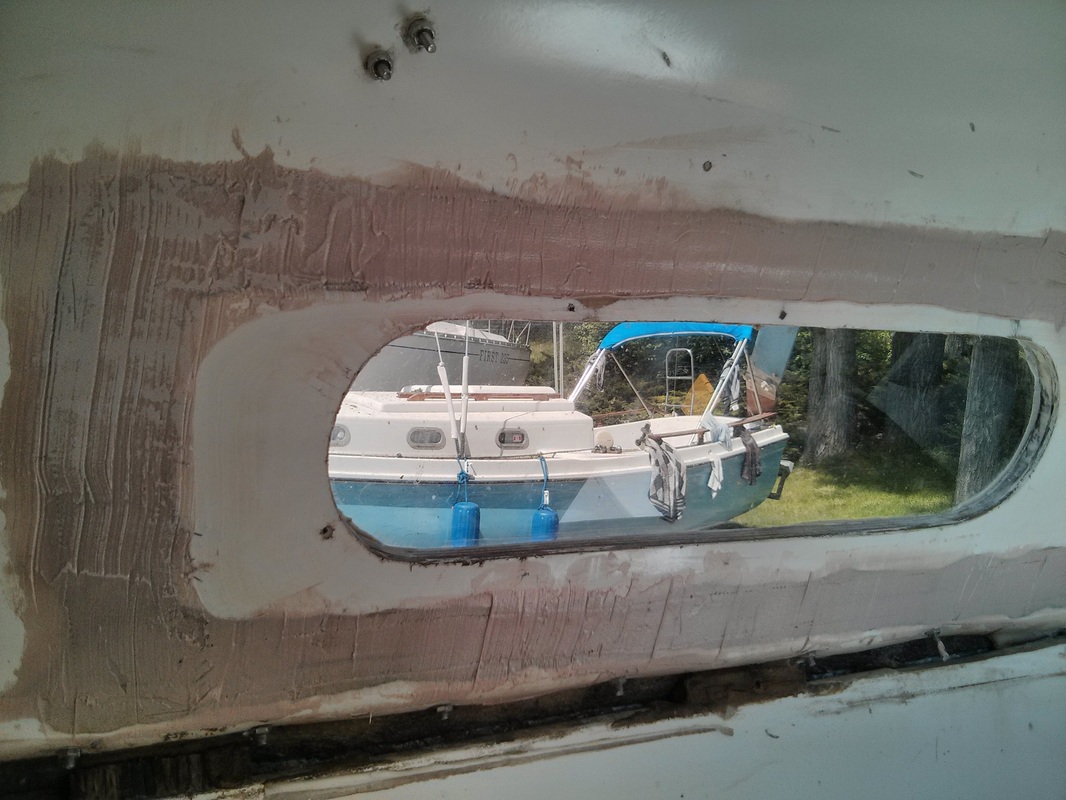
To complete the job, we were faced with a choice. Either just fill the cut in with some thickened epoxy and paint over it, or sand a bevel, fiberglass, and fair the whole cut. As the picture to the left shows, I went with the latter option. Was it worth the extra work? Hard to say. In the easier option, I could only envision having the thickened epoxy pop out of the crack when the boat began flexing under way, taking the paint with it and generally looking terrible. That felt unacceptable to me, especially with this much work already into the repair.
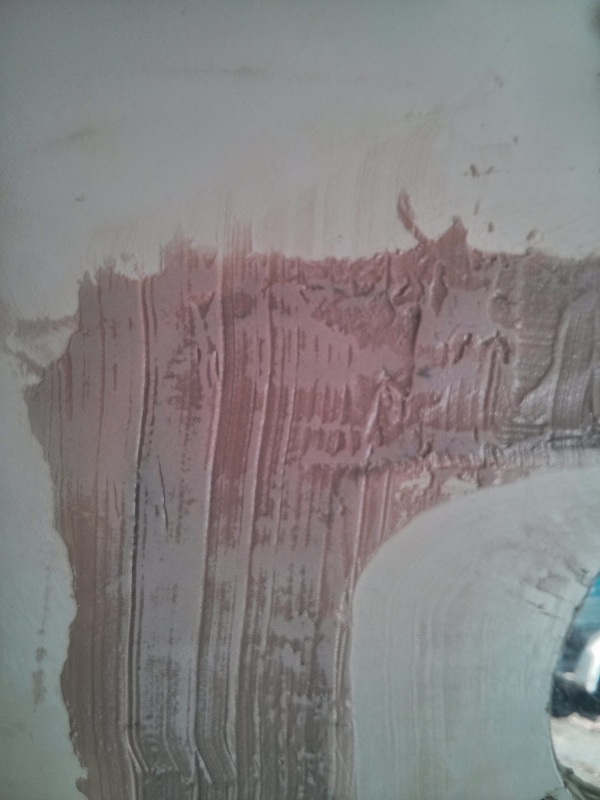
It quickly became apparent that the hard way was going to live up to its name. I took 50 grit sandpaper on a 5 1/2" random orbital sander and only got as far as the picture shows in 1/2 hour with a lot of labor. Something else had to be done.
To complete the job, we were faced with a choice. Either just fill the cut in with some thickened epoxy and paint over it, or sand a bevel, fiberglass, and fair the whole cut. As the picture to the left shows, I went with the latter option. Was it worth the extra work? Hard to say. In the easier option, I could only envision having the thickened epoxy pop out of the crack when the boat began flexing under way, taking the paint with it and generally looking terrible. That felt unacceptable to me, especially with this much work already into the repair.
It quickly became apparent that the hard way was going to live up to its name. I took 50 grit sandpaper on a 5 1/2" random orbital sander and only got as far as the picture shows in 1/2 hour with a lot of labor. Something else had to be done.
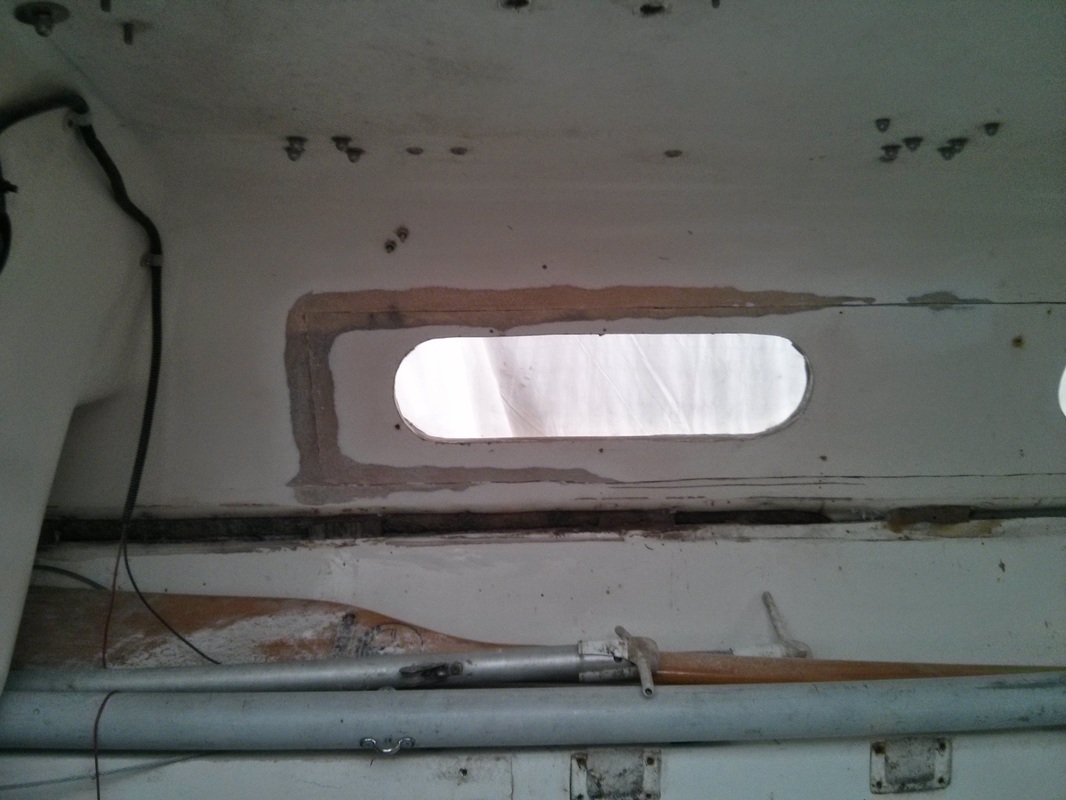
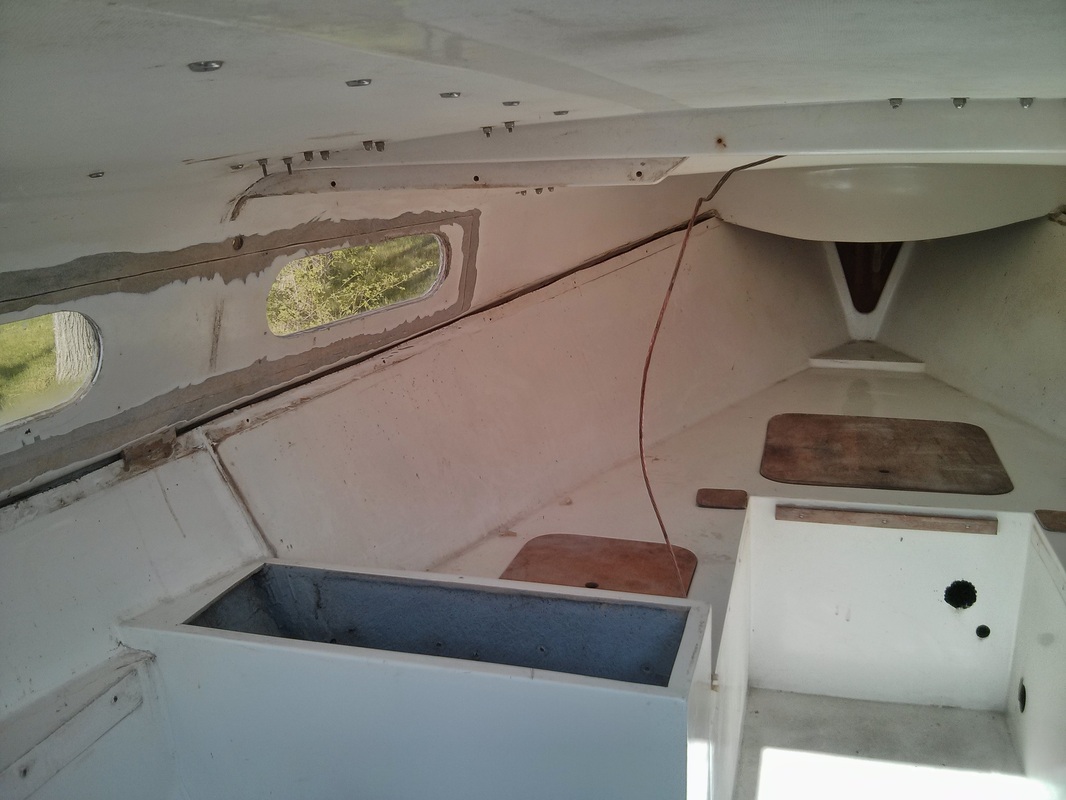
Thanks again to the Toronto Tool Library I was able to access the right tool (an angle grinder) without buying it. The library didn't have any of the sanding heads for their grinders, but Home Depot sold one with two sample pads for $12. The two sample pads were 50 grit, so I bought some 36 grit pads to try. In the end, I was able to get through the project with only the 50 grit pads, which, while being the same abrasive level as the one on the RO sander, took off a LOT of material QUICKLY! The pictures below show as much, which was completed in about 2 hours (not including a break or two):
|

|
However, it was a messy, hot, nasty job. It was the first warm day Toronto had all year (around 80F) and I was in coveralls with a respirator, googles, and gloves. To make things worse, the contractors who were replacing the septic holding tank at the sailing club hit the water main, so there was no way to get drinking water or to wash the fiberglass dust off myself. The metal bodied angle grinder became very warm about halfway through the project, making everything feel that much more uncomfortable. I hope that my fiberglass grinding days are few and far between.
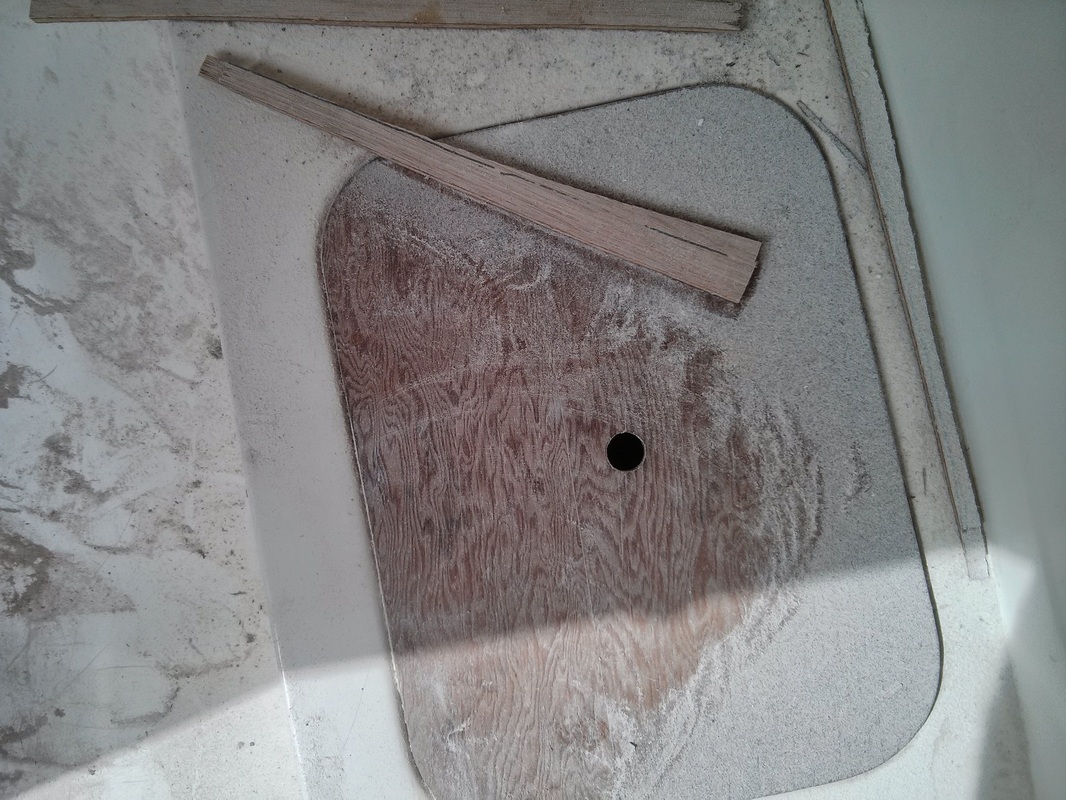
This dust coated everything and was 2" deep in some of the corners.
|
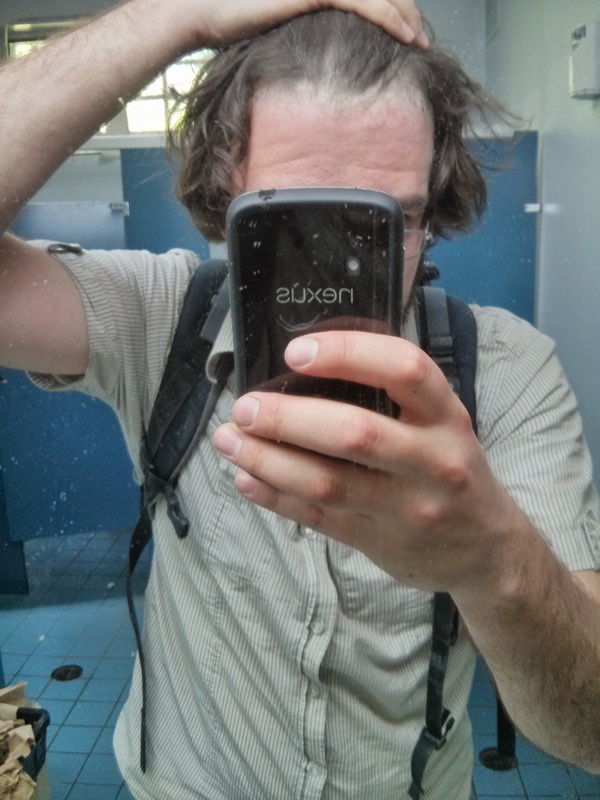
It looked like I was wearing clown makeup underneath my hairline, but it was just gelcoat and fiberglass dust. It was an itchy streetcar ride home.
|
With the grinding out of the way, I was free to begin fiberglassing which was much more enjoyable!
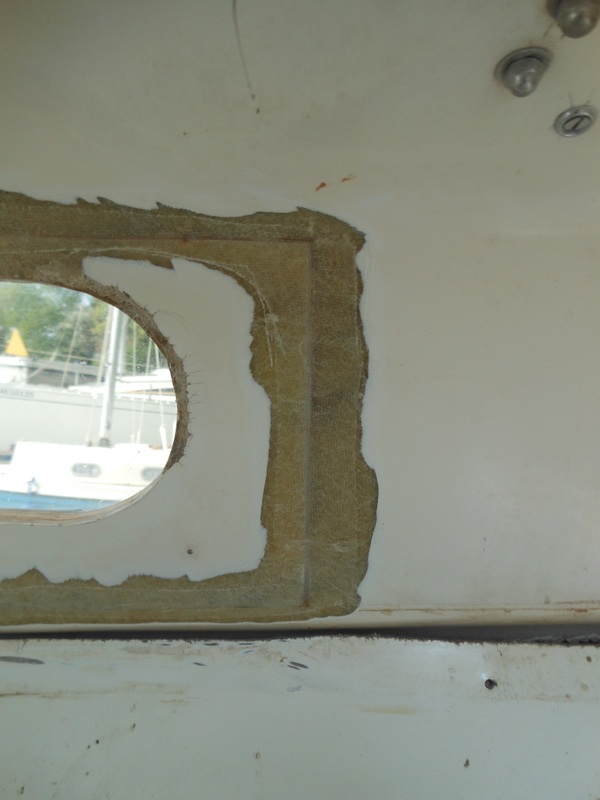
Because an angle grinder isn't exactly a fine feathering tool, I had some places where I hadn't beveled down to the base of the cut line. I mixed up some epoxy with fumed sillica (by far my favorite filler to work with) and put it in a ziplock bag with a small hole cut in one corner and filled in any of the deep spots. I followed with a plastic squeege to smooth it all out.
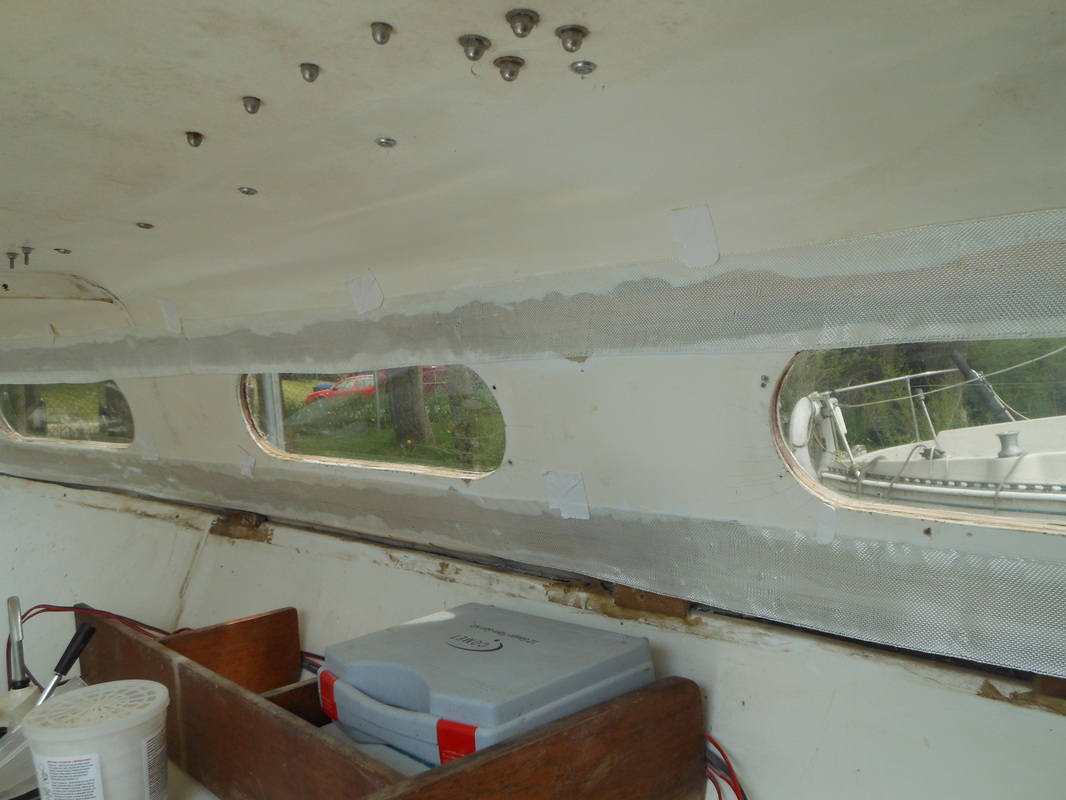
Then, after the thickened epoxy had kicked (but while it was still a little tacky), I taped up my fiberglass cloth. The tacky epoxy helped to hold it in place. I used 10 yards of 3" fiberglass tape (6 oz). Once it was all taped into place, I mixed up some System Three epoxy and wet out the cloth (followed again by a plastic squeegee).
After the epoxy saturated cloth had partially cured, I took a razor blade and cut and removed the excess cloth (making sure the cut line was inside the epoxied area), leaving a smooth edge all the way around.
Because an angle grinder isn't exactly a fine feathering tool, I had some places where I hadn't beveled down to the base of the cut line. I mixed up some epoxy with fumed sillica (by far my favorite filler to work with) and put it in a ziplock bag with a small hole cut in one corner and filled in any of the deep spots. I followed with a plastic squeege to smooth it all out.
Then, after the thickened epoxy had kicked (but while it was still a little tacky), I taped up my fiberglass cloth. The tacky epoxy helped to hold it in place. I used 10 yards of 3" fiberglass tape (6 oz). Once it was all taped into place, I mixed up some System Three epoxy and wet out the cloth (followed again by a plastic squeegee).
After the epoxy saturated cloth had partially cured, I took a razor blade and cut and removed the excess cloth (making sure the cut line was inside the epoxied area), leaving a smooth edge all the way around.

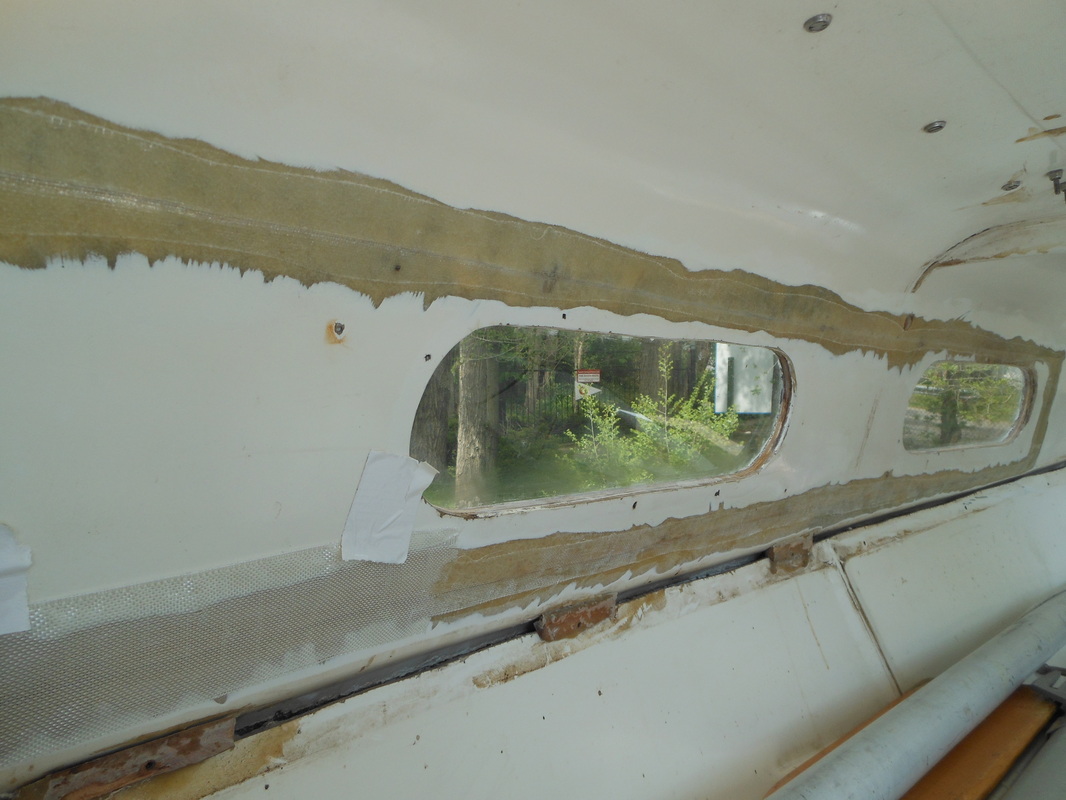

Next, it was on to fairing. I opted for System Three's QuikFair, which promised to be easy to work with. I love System Three's products (particularly the general purpose epoxy), but I didn't like the texture or working time of the QuikFair. I found it really stuck to the plastic squeegee I was using to smooth it out, meaning that I either had to leave a very thick layer of fairing compound or essentially squeegee it all off. It likes to stick to itself, so when trying to spread it, it had a tendency to pull out of the low spots. Perhaps a plastic squeegee wasn't the best tool to use, but I'm not sure what else I should have opted for. In the end, I left some pretty high spots knowing I would pay during the sanding process. I don't know if there is anything better. Fumed silica spreads really nicely with a plastic squeegee, but is a nightmare to sand. I've found that West System's 407 micro balloon filler has similarly disappointing spreading characteristics.
QuikFair is also supposed to be easy to sand. I'd say it is about as easy to sand as any other epoxy fairing compound, but it is by no means a "dream" job. Because I had to leave it so thick in areas, I ended up sanding for at least three hours (with 60 grit paper, followed by 150 and 220). It is probably a little easier than mixing up epoxy with filler multiple times and getting inconsistent results, but otherwise I don't feel it preforms much better. Oh, and if left sitting thick, I'd say it starts to gel in about 15-20 minutes at 70F.
QuikFair is also supposed to be easy to sand. I'd say it is about as easy to sand as any other epoxy fairing compound, but it is by no means a "dream" job. Because I had to leave it so thick in areas, I ended up sanding for at least three hours (with 60 grit paper, followed by 150 and 220). It is probably a little easier than mixing up epoxy with filler multiple times and getting inconsistent results, but otherwise I don't feel it preforms much better. Oh, and if left sitting thick, I'd say it starts to gel in about 15-20 minutes at 70F.
QuikFair as I began sanding. I couldn't smooth it out any more before it gelled because it would lift away from the area, thus there are high spots (made worse because I was still trying to smooth it after it began gelling).
|
Up close
|
One side left to sand. I hate sanding and I feel like so far it has been the majority of boat ownership.
|
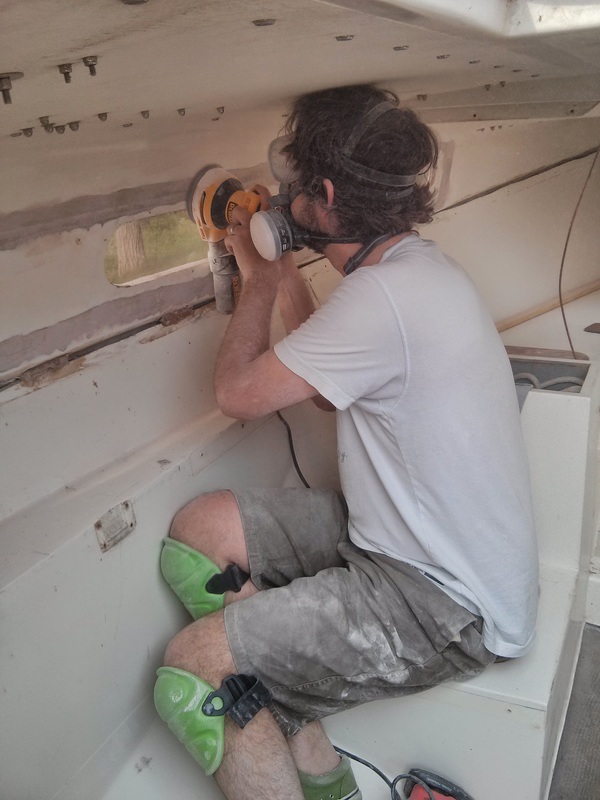
Angie took this picture while I was working. QuikFair sands into a very fine dust.
|
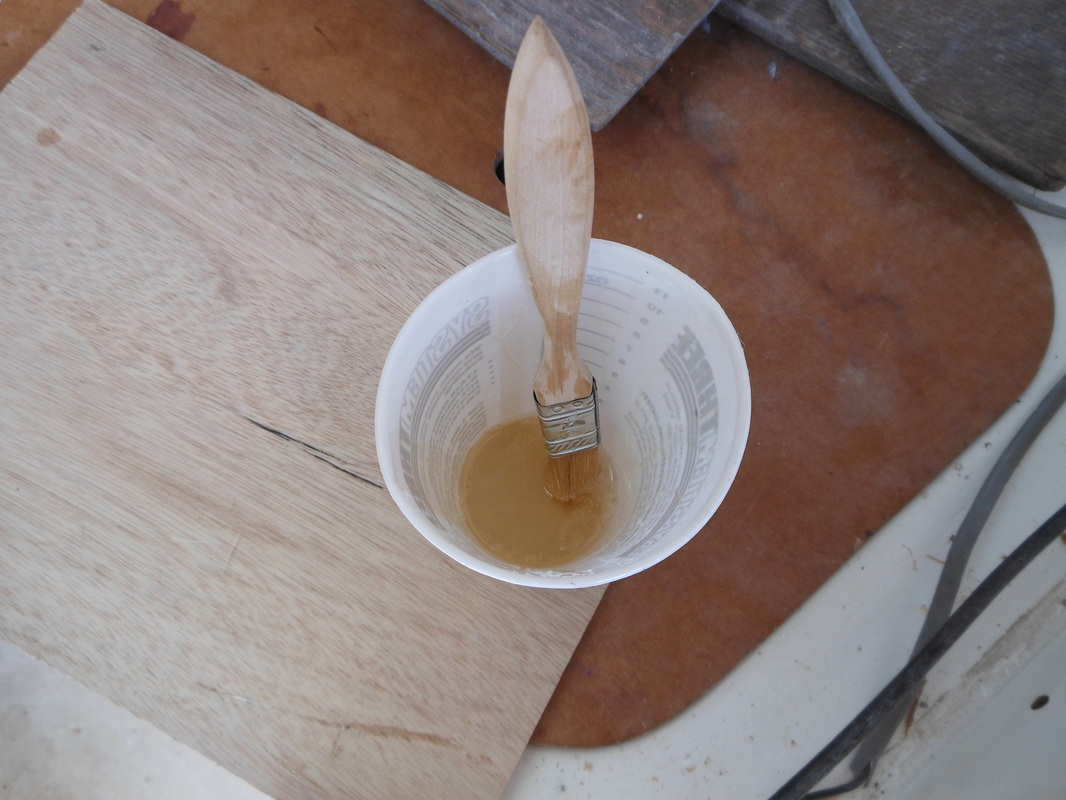
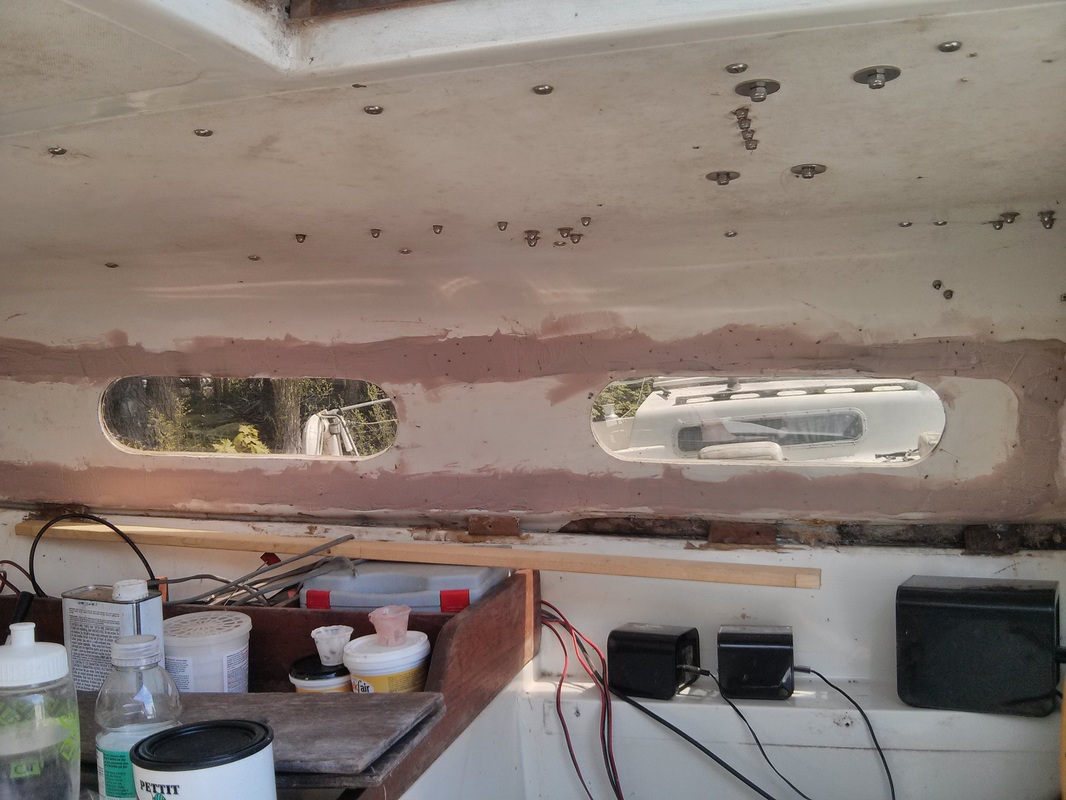
Finally, time to paint! I wiped everything down with a dewaxing solvent and used a roller and brush to apply Pettit's Ez Cabin-Coat. It is a water-based paint that includes a mildewcide and claims to adhere to any smooth surface without prior sanding. We had to order it from the States because Pettit hasn't been keeping up their Canadian safety data. Quite frankly, I was a little disappointed. Even after a thorough dewaxing, the paint did not want to stick to bare, unsanded gel coat. It stuck like crazy to any textured surfaces and the sanded fairing compound, but it just pushed around on the smooth areas.
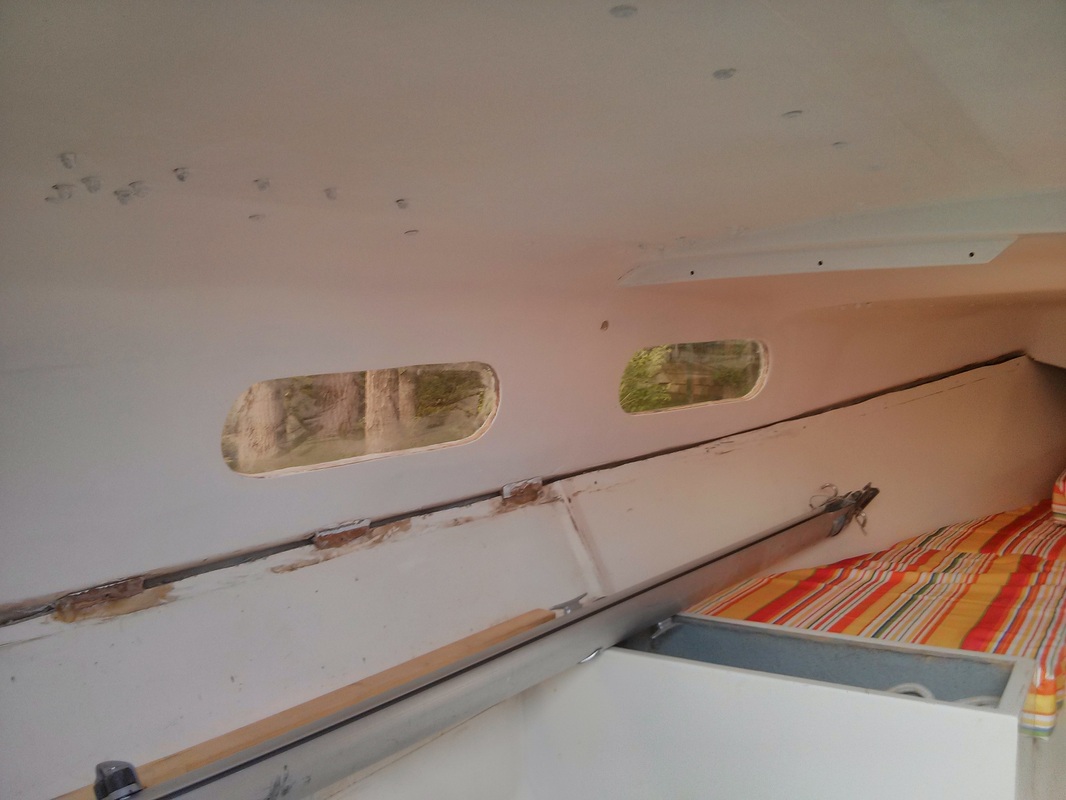
We could only afford to order one quart of the paint from the U.S. (shipping costs were outrageous), so currently we are only painting above the deck/hull joint (as this area is usually covered with teak strips). It is a good thing we decided not to try to stretch the quart through the whole cabin, as it is going to take three (actually four) coats to hide the darker fairing compound. I probably should have used a primer in this area, but we are in a rush to get on the water, so we "primed" the faired areas with the paint itself. The picture shows two coats over the whole upper cabin, but it is actually three over the fairing compound (and it is still a little visible).
Another thing I learned is that it is both impossible to tape off all the through-deck nuts and bolts and also impossible to brush paint around them. In frustration, I painted over them in hopes of washing the paint off with water. However, the paint was too dry by the time I took a wet rag too it (it drys very quickly). So, we are either going to have to use some sort of solvent to clean the nuts, or just pick away at the paint one nut at a time when we are stuck in the cabin because of rain. Maybe it will be a fun game.
One other note is that the picture shows a teaser of Angie's newly made v-berth cushions. She will post more details about those in the near future. They really make the boat look great!
